It’s the time of year for saving money!
In the last installment (Part 8) of this continuing series, I followed through on “shopping without shopping”, my own personal variant on Sun Tzu’s “fighting without fighting”(from The Art of War), and gave you some thoughts on how to get your dedicated listening room to sound good without spending a lot of money.
 Just installing (and carefully angling) the vertical blinds that I wrote about, putting the plants at strategic locations (in the corners or at “first bounce” points along the walls), adding area rugs to the floor or on the walls, and doing whatever else you may do (even including the addition of expensive commercial bass traps, diffusers, reflectors, and other “for sale” acoustic treatments) to bring your room up to speed won’t get it all right, though, without (at least) one final thing: As any hard-core audiophile who has stayed up far into the morning, playing the same recording (or fragment thereof) over and over again, each time, moving one or the other of the his two stereo speakers in tiny increments (or similarly changing the speakers’ “toe-in” angle) will tell you, no matter how well your room is set up, it can still benefit from a little final “dick and dial”.
You can either do that the old way, with hours and hours of painstaking experimentation over an extended period of time, OR you can do the same sort of thing (trying multiple positions and multiple angles) using a simple and (in keeping with my “shopping without shopping” theme) cheap-or-maybe-even-free shortcut to make things a whole lot faster and easier.
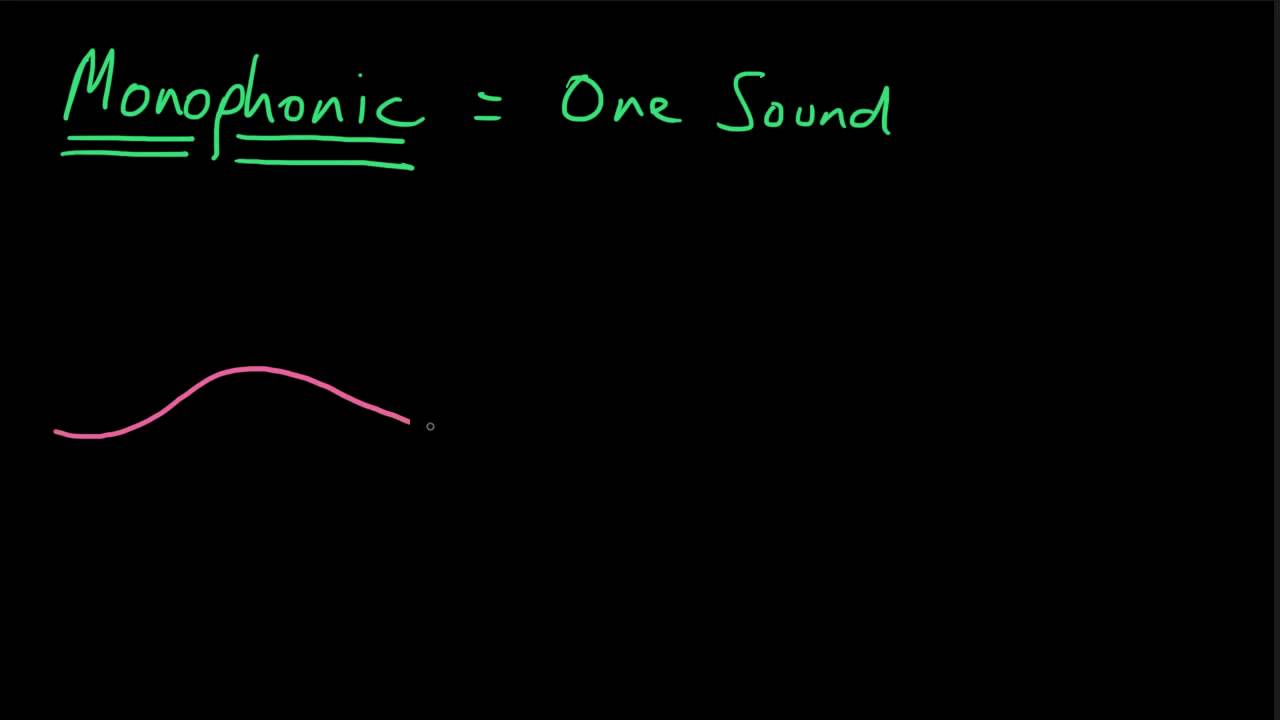
It’s called “mono”.
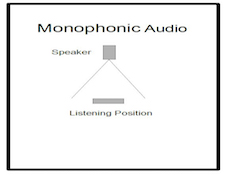 Single channel “monophonic” sound can be a wonderful tool for “dialing-in” your room and getting your system to “image” and “soundstage” as well as it can. Before you can use mono as a tool, however, you have to be able to produce it and, one way or another, just about everybody can, regardless of what kind of equipment they may use.
If you have a High-End preamp or even a better-quality receiver – especially if it’s an older one – you may already have as “mono” position on your control panel. If you have it, use it. It’s that simple. If you DON’T have it, don’ worry, mono’s easy to produce: Just use a (female to two males) “Y” connector to split ONE (it doesn’t matter which one) of the stereo channels coming from your source (CD player, streaming device, or whatever) into two identical outputs. Plug those outputs (the two male ends of your Y connector) into the Left and Right channel positions of one of your preamp or receiver’s inputs. Because both will be the same, it won’t matter which goes where. IMPORTANT: Use “line level” (ordinary) inputs, only. DO NOT use a phono input unless you are using a phono as your source. (NOTE: If you want to get “fancy”, run BOTH channels from the source to a reverse “Y” [two females and one male] that will combine them into a single mono signal, then, plugging the male from that reverse Y into the female of a “regular” Y [one female and two males] to split it again, into two identical outputs, and plug them into one of your inputs, as before. This will give you a mono signal that contains all of the original stereo information but, other than that, offers no real advantage.)
 To use your mono signal (now coming from both of your stereo channels) just put on whatever kind of music you like (I prefer orchestral instrumentals) and LISTEN: In mono, with the same sound coming from both speakers, if your room is properly set-up and your speakers are placed perfectly, anywhere you sit in front of and between your right and left speakers, there will be no “sweet spot” but the music or voice you’re playing will sound like it’s coming to you from directly in front of your listening position and will sound – IF EVERYTHING IS ‘DEAD-ON” PERFECT – like its source is a sharp-edged dot about the size of an American dime.(18mm). That’s what you should try to achieve, by moving your speakers or changing their angles (“toe-in”) relative to your listening position, in small increments, a little at a time until you get the apparent sound source as small as you can (Remember that, for this test, the bigger the sound source appears, the more WRONG your speaker placement or room treatment is, and the more you need to change things to get it right) When you’ve got the sound source as small as you can get it, that will be the perfect placement for your speakers in that room and, when you go back to stereo, your system’s imaging and soundstaging should be near perfect.
What I just described must be done with your speakers properly in phase, which you can usually tell just by checking to see if the lighter color (often RED) speaker lead or connector is always connected to a lighter color terminal at the amplifier or speaker and the darker color (usually BLACK) lead or connector is always connected to a darker color terminal.
Another technique that offers certain advantages also calls for mono sound, but with the channels OUT of phase with each other. (NOTE: To do this you can either use a recording with a “channels-out-of-phase” test track or you can just reverse the leads [Red to black, black to red] on only ONE of your speakers, only at the “speaker” end of the speaker cable. WARNING: Using a “Phase” switch, if you have one, WON’T work for this test: It will reverse the phase of BOTH channels at the same time, when what you want is to reverse only one and leave the other unchanged.)
 At least two commercial test recordings include “in-phase” and “out-of-phase” tracks specifically intended for this purpose. These were made by me and feature my voice (woo-woo!). They are the “XLO/Reference Recordings Test & Burn-in CD” (Reference Recordings RX 1000) and “The Sheffield/XLO Test & Burn-in CD”. (Sheffield Labs 10041-2-T). Others, from other sources, may also be available; I just don’t know of them. You don’t really need one, though (although I do recommend that whatever you use should be monophonic single-voice spoken word, only, with no musical background.), The only real advantage that test discs may have is that you DON’T have to (and shouldn’t) set anything to mono to use them.
To do this test, (either with a special test track or with one reversed speaker cable, but never with both things at the same time) simply play your out-of-phase material, moving your speakers one-at-a-time and changing their toe-in angles a little at a time, exactly as you would with the “in-phase” mono test. The difference here is that unlike the in-phase test, where your goal is the tiniest “dot” of sound possible, with the “out-of-phase” test, you’ll try to get the BIGGEST apparent sound source that you can, with “perfect” being when the sound from your speakers seems to have no apparent source at all, but to come at you evenly from all around your room – front, back, sides, and even from behind you all at once.
The great advantage that out-of-phase testing offers is the ability to “dial-in” both your speaker placement and your room treatment at the same time: If , for example, you get sound that’s huge enough and mostly “sourceless”-sounding, but isn’t “even” – if, for example, it sounds like it “favors” some one part of your room, instead of coming from all over, odds are that you have a problem in that part of your room.
I did, in one listening room long ago: the sound seemed to be coming from behind me, to my right. When I checked, I found a hard surface there that the sound was reflecting off, back to me, and when I put something over it to “soften” it and got rid of the reflection, the whole sonic “picture” changed and got as close to completely “sourceless” (coming from no particular location) as I’ve ever heard. Wonderful! The less focus there is in your out-of-phase testing, and the less you can identify its source, the MORE tightly focused your sound will be; the tighter the focus will be; and the deeper and broader the soundstage will be when you go back to playing your system in-phase in stereo, as it’s supposed to be.
Try it. You’ll like it, and I’ll be back with more next time.
